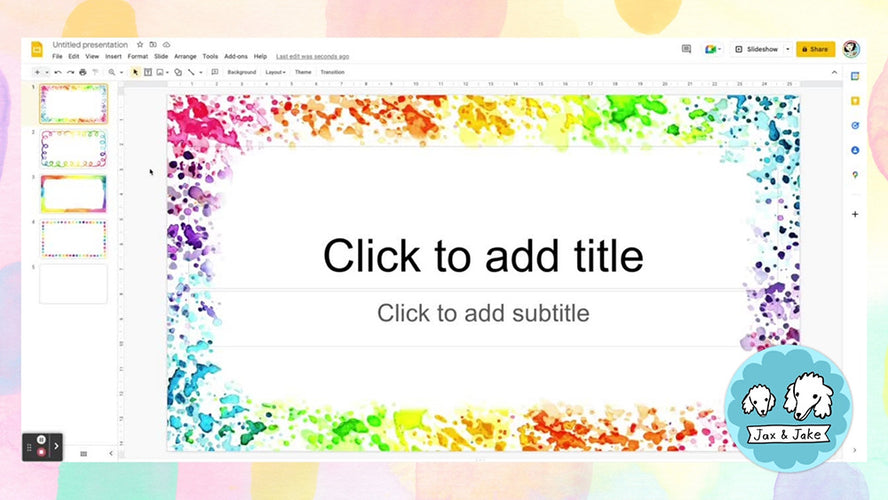
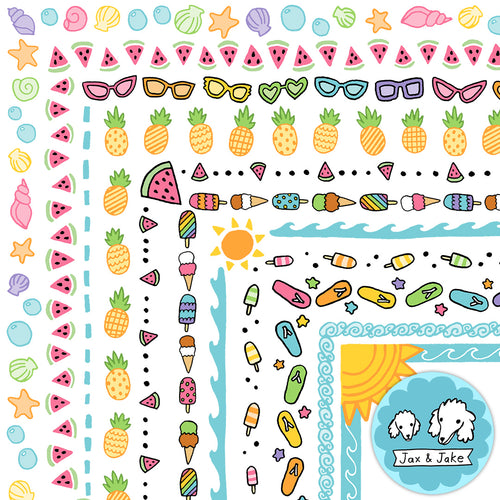
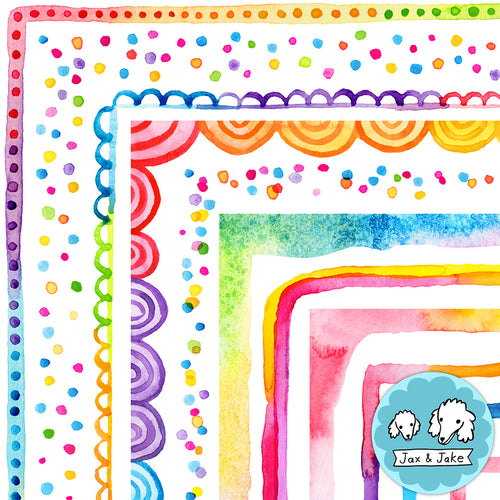
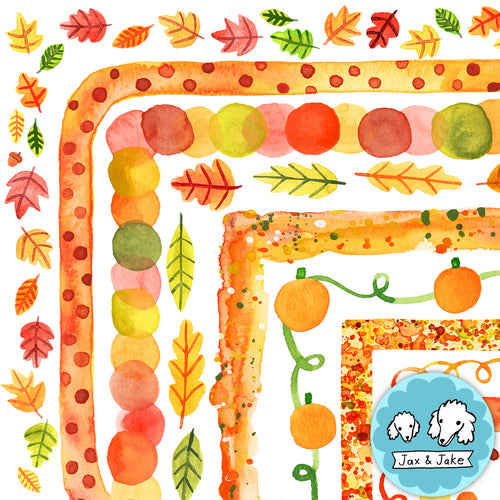
These directions will show you how to add a border to your document, and then how to add text. You can use border clipart with just about any editing program where you can insert images, however I usually recommend using Google Slides, Powerpoint, or Canva since they are so user-friendly.
Adding clipart borders to your projects is a quick and easy way to make your design look complete. If you don’t have borders to use already, you can download a free rainbow clipart border set HERE to try this out!
Adding Borders in Google Slides
If you’re using a page sized border, you will need to change the aspect ratio of the google slide first. Go to FILE > PAGE SETUP> Standard 4:3. If you’re using a slide border you don’t need to do this.
To add a border in Google Slides, first select the “Background” tab from the top menu. Click on “Image”, and then choose and image from your computer. Click “Done”.
From here, click on the “Text box” icon. It it a “T” inside of a little box in the top menu.
- Click and drag to create a text box on your canvas.
- Once you have your text box created, simply click inside it and start typing.
- To change the font, size, color, or alignment of your text, use the options in the top toolbar.
Adding Borders in PowerPoint
Again, If you’re using a page sized border, you will need to change the size of the page. At the top menu, select DESIGN > SLIDE SIZE > Standard 4:3. If you’re using a slide border you don’t need to do this.
There are a couple ways that you can add a custom background image in PowerPoint. One way is to go to the "Design" tab and click on the "Background" button. Then, select the “Picture From File option. This will allow you to select an image from your computer to use as the background. Another way is to click on the "Insert" tab and then click on the "Picture" button. This will also allow you to select an image from your computer to use.
To add text click on the "Insert" tab.
- Click on the "Text Box" button.
- Click and drag to draw a text box on the slide.
- Use the font options at the top to format the text.
Adding Borders in Canva
To use this option, you will need to have a free Canva account. These directions are for the desktop website version.
To add a border in Canva, first Open Canva and select the “Create a design” button. From here the type of design you want to create is up to you. You’ll want to keep in mind the size of border that you’re using because you will want the border to fit inside perfectly without getting squished. For example, if I wanted to create a slide show, but I’m using a page size border, I would pick the “Presentation 4:3” option.
On a desktop, click on the “Uploads” icon on the left and upload the border images from your device. From there you can either click on the image or drag it onto your document.
Click on the “Text” tab from the left-hand sidebar. Click the purple “Add a text box” button. You can then modify the font by using the menu on the top bar.
I created a free rainbow clipart border set for you to try this out. You can get it HERE.
Check out my shop for more hand drawn and hand painted classroom decor and clipart borders:


